0

From Novice to Pro: Master React Navigation and Context API - Level 2

Learn how to use react navigation and context api in react native with typescript

article cover image

TurjoyFebruary 16, 2024

We are gonna explore two things in this article.

Navigation between app screens and global state management.

For global state management, we will be using Context API.

Context API comes with the React library.

Global state management is basically keeping a central data store.

It also manages functions that work on the data to change its state.

This data and functions are then available from any screens.

Note that we are still not persisting data.

That is, when app restarts you won't get past data.

Goals

The goals are:

  • How react native apps navigate from one screen to another (React Navigation)

  • How data is accessed in different screens from a central store (Context API)

Design Plan

You should be creating wireframes first (hand-drawn or digital).

Refer to the wire framing section of past blog.

Here lets start with the high fidelity designs built with figma.

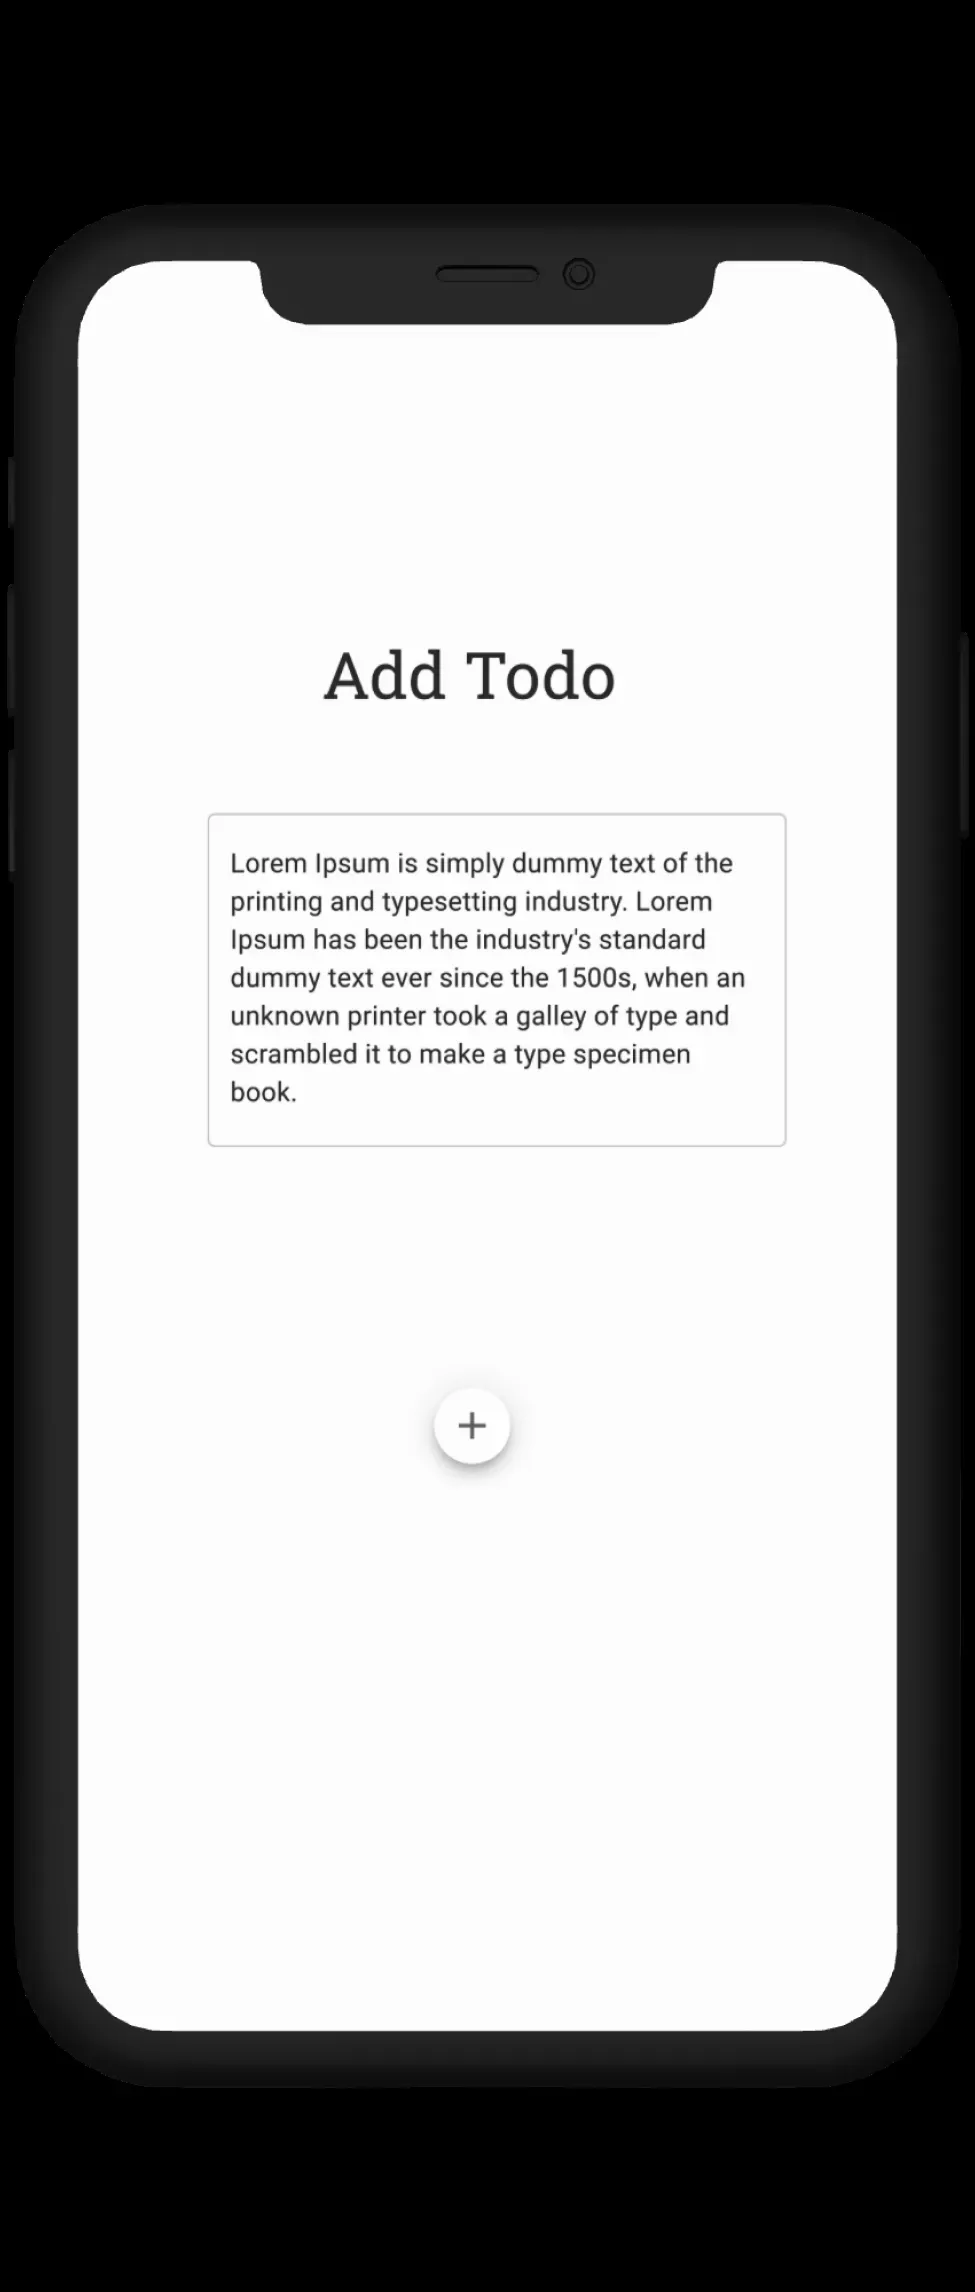
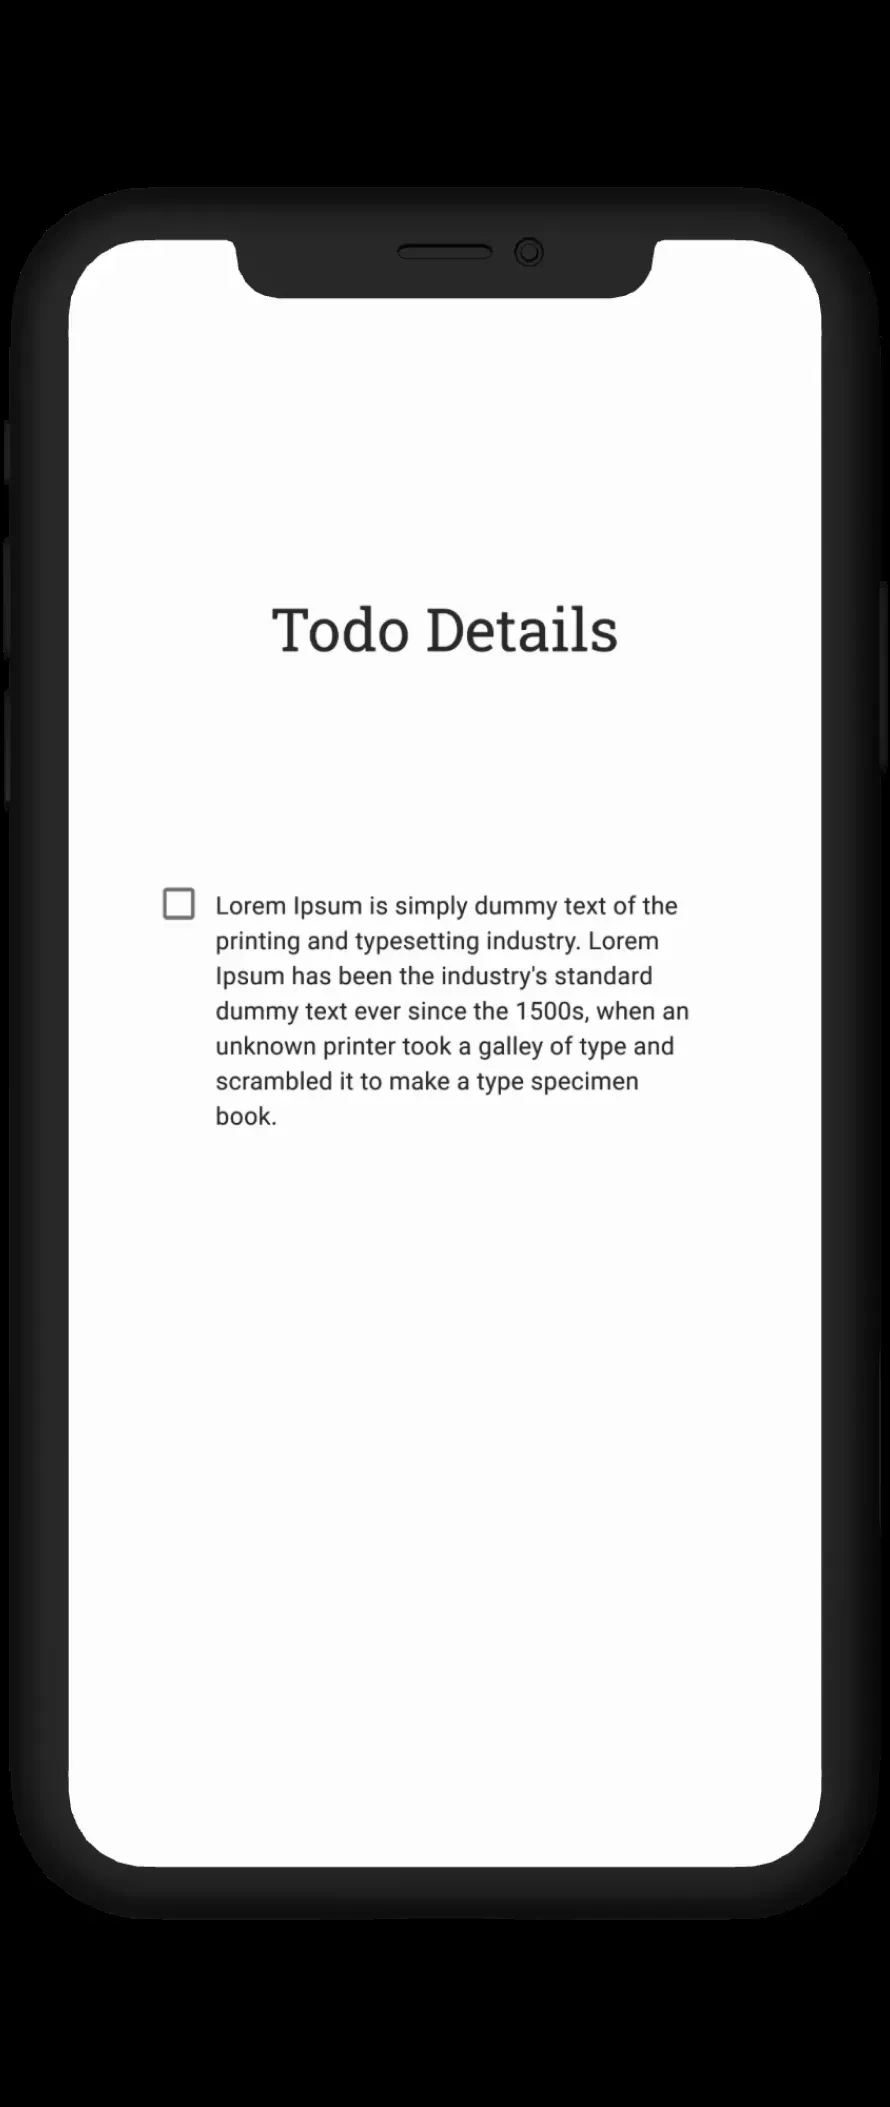
We will be needing three screens:

  1. Todo List Screen
  2. Add Todo Screen
  3. Todo Details Screen

Below they are shown.

none provided
none provided
none provided

React Navigation

React Navigation is the favourite library to navigate between screens.

Each screen is a component.

React navigation uses a stack-based navigation model since version 4.

The screen components are stored in a stack.

We have three different ways to display react navigation screens.

1. Stack Navigator

Stack navigator is the basic navigator which provides us with a raw navigation stack.

We get all the basic functions like

  • navigation between screens

  • exchanging data between screens

  • basic navigation functions like, goBack(), pop() etc.

2. Drawer Navigator

Drawer Navigator has all features of Stack Navigator and some more.

In app sometimes you see drawers transitioning from the side,

showing a list of different screens.

This is the drawer.

So this provides functions specific to playing with drawer

3. Tab Navigator

In Tab orientation you get the screen options in tabs at the bottom or top.

The rest of the different screens is displayed with it.

In this app, we are going to use Stack Navigator.

Starting Code and Final Code

We have learned how to make a basic todo app with local state management.

We had used react hooks to manage state locally.

MUI in react native paper was used to skip design thinking.

So this will be our starting code.

To know more about how we arrived here, go over past article.

The final code is here.

Implementing Navigator

Install the essential libraries

If your computer is not resource deficient, do use React Native Cli, not Expo.

You will be more confident.

If you know Cli, you will need no time learning to use Expo.

Follow installation instructions for React Navigation for React Native Cli.

Planning the screens

We need three screens.

  1. Screen to add or edit todo
  2. Screen to view full todo details
  3. Screen to list all todos

List screen won't need any data from other screens except global data.

We will use Context API for global state management.

Global state management is essential for react native navigation.

Otherwise there will be too much prop drilling.

Still a little data will have to be transferred from one screen to another.

The Add/Edit screen will need nothing if todo is added.

It will need the Task and Index of the task from List screen while editing.

Task will have type 'Task' defined as follow:


export interface Task {
  pending: boolean;
  description: string;
}

And Index will have type number.

The View screen will need the same from List screen, as for Edit.

Because the view will be able to update todo status.

And the update status function will need the Task and its Index.

So our navigator type will be as follows:


export type RootStackParamList = {
  List: undefined;
  Details: {task: Task; index: number};
  AddEdit: undefined | {task: Task; index: number};
};

All of these will be in the types.tsx file in the root of the directory.

Now let's create the file: ./src/navigation/AppNavigator and define the navigator.


const AppNavigator = () => {
  return (
    <NavigationContainer>
      <Stack.Navigator screenOptions={{headerShown: false}}>
        <Stack.Screen name="List" component={TodoList} />
        <Stack.Screen name="Details" component={ViewTodo} />
        <Stack.Screen name="AddEdit" component={AddTodo} />
      </Stack.Navigator>
    </NavigationContainer>
  );
};

The screen "name"s defined above will be screen identifiers.

We will call them to navigate to a screen.

The components are the screens.

The components are made more reusable following Atomic Design here.

This is because there is component reuse.

Defining Navigation and Route Types:

The Navigation type has to be defined for screens that uses navigation functions.

The Route types has to be defined for screen that accept data from other screens.

We need the following types:


// Navigation Type for TodoList screen

export type ListScreenNavigationProp = NativeStackNavigationProp<
  RootStackParamList,
  'List'
>;

// Navigation Type for AddEdit screen

export type AddEditScreenNavigationProp = NativeStackNavigationProp<
  RootStackParamList,
  'AddEdit'
>;

// Routing Type for ViewTodo screen

export type ViewScreenRouteProp = RouteProp<RootStackParamList, 'Details'>;

// Routing Type for AddEdit screen

export type AddEditScreenRouteProp = RouteProp<RootStackParamList, 'AddEdit'>;

Context API

Context API lets any component within the Context Provider work with global data and functions.

The TodoProvider function is created in the src/todoContext.tsx file.


const TodoProvider = ({children}: {children: ReactNode}) => {
  const [tasks, setTasks] = useState<Task[]>([
    {
      pending: true,
      description: 'Be a pro in React Native',
    },
  ]);

  // functions

  const addTodo = (todo: string) => {
    let task = {
      pending: true,
      description: todo,
    };
    setTasks([...tasks, task]);
  };

  const updateTodoStatus = (index: number) => {
    const updatedTasks = [...tasks];
    updatedTasks[index].pending = !updatedTasks[index].pending;
    setTasks(updatedTasks);
  };

  const updateTodoDetails = (index: number, description: string) => {
    const updatedTasks = [...tasks];
    updatedTasks[index].description = description;
    setTasks(updatedTasks);
  };

  const deleteTodo = (index: number) => {
    const updatedTasks = [...tasks];
    updatedTasks.splice(index, 1);
    setTasks(updatedTasks);
  };

  return (
    <TodoContext.Provider
      value={{
        tasks,
        addTodo,
        updateTodoDetails,
        updateTodoStatus,
        deleteTodo,
      }}>
      {children}
    </TodoContext.Provider>
  );
};

This functions encapsulates the App Navigator in App.tsx.


<TodoProvider>
        <AppNavigator />
</TodoProvider>
      

To get access to the data and functions, we call the context in the component we need.


const {tasks} = useContext(TodoContext) as TodoContextType;

const {updateTodoStatus} = useContext(TodoContext) as TodoContextType;

This is the type it needs.


export type TodoContextType = {
  tasks: Task[];
  addTodo: (todo: string) => void;
  updateTodoDetails: (index: number, description: string) => void;
  updateTodoStatus: (index: number) => void;
  deleteTodo: (index: number) => void;
};

Component optimisations

Now that we have a central store of data, we can make smaller reusable components.

Like...


const CustomCheckBox = ({item, index}: {item: Task; index: number}) => {
  const {updateTodoStatus} = useContext(TodoContext) as TodoContextType;

  return (
    <Checkbox.Android
      status={!item.pending ? 'checked' : 'unchecked'}
      onPress={() => updateTodoStatus(index)}
      color="#4F4F4F"
    />
  );
};

Next Steps

In this problem we are using many functions in Context API to manage the data.

This is not maintainable.

We can optimise it using a reducer function.

Follow this guide to modify it.

Resources

React Context API

React Navigation

Drawer Navigator

Tab Navigator

Liked what you read?

Join my email list to get more...